My Gardening Journey, part 2:
The Magical Joys of Fermented Plant Juices
When I started my vegetable patch five years ago, I knew next to nothing about farming. Or planting crops. Or planning a garden. I was literally a blank slate. So, I started from scratch and did my googling and reading up; there are a lot of good resources online but I thought I should go extra, so I enrolled in a short course on Organic Agriculture at the UP Open University.
It’s mostly distance education but the course offered a lot of face-to-face encounters that involved visits to farms or organic farming practitioners and I think that’s what made it a great introduction to organic farming (or farming in general). The heart of the course was meeting other gardeners and organic farming enthusiasts/practitioners, seeing how other organic farms are set up, and farmers sharing their best practices for newbies like me. The kind of vegetable patch or garden I wanted started to take shape in my head while I was taking this course so I highly recommend it for new gardeners (or even practicing gardeners because visiting other farms and chatting with other gardeners can be so much fun, you can just do the course for the field trips really).
I used to just buy plants, mostly ornamentals, and herbs for the kitchen, little plants I kept in pots around our pavilion. When I decided to start a vegetable patch, I needed to plant my seeds of course. My first attempt was tomato and eggplant seeds. Which was rather unfortunate since they took longer and I was impatient or stupid and needed to try twice or thrice before my seeds properly germinated. I should have started with the “easy seeds,” the ones that germinate with no effort, like okras or ampalaya. That would have given me more confidence in the beginning, as it was, the eggplants and tomatoes really shook my faith in myself.
|
|
|
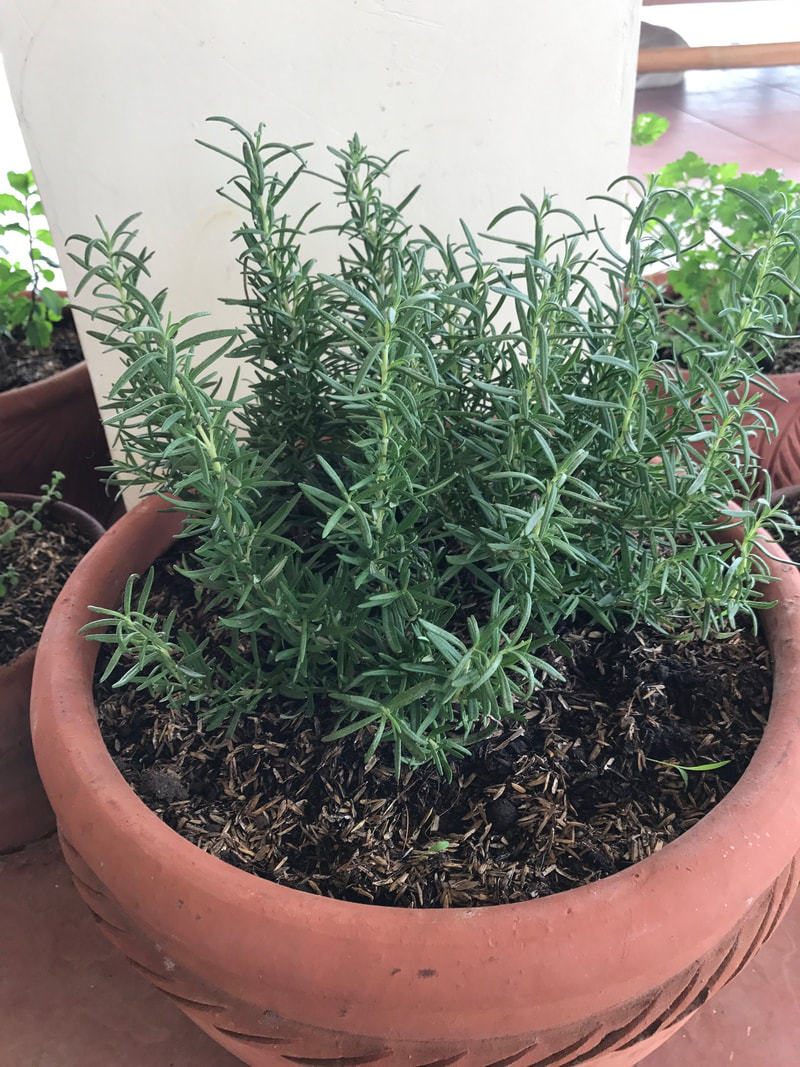
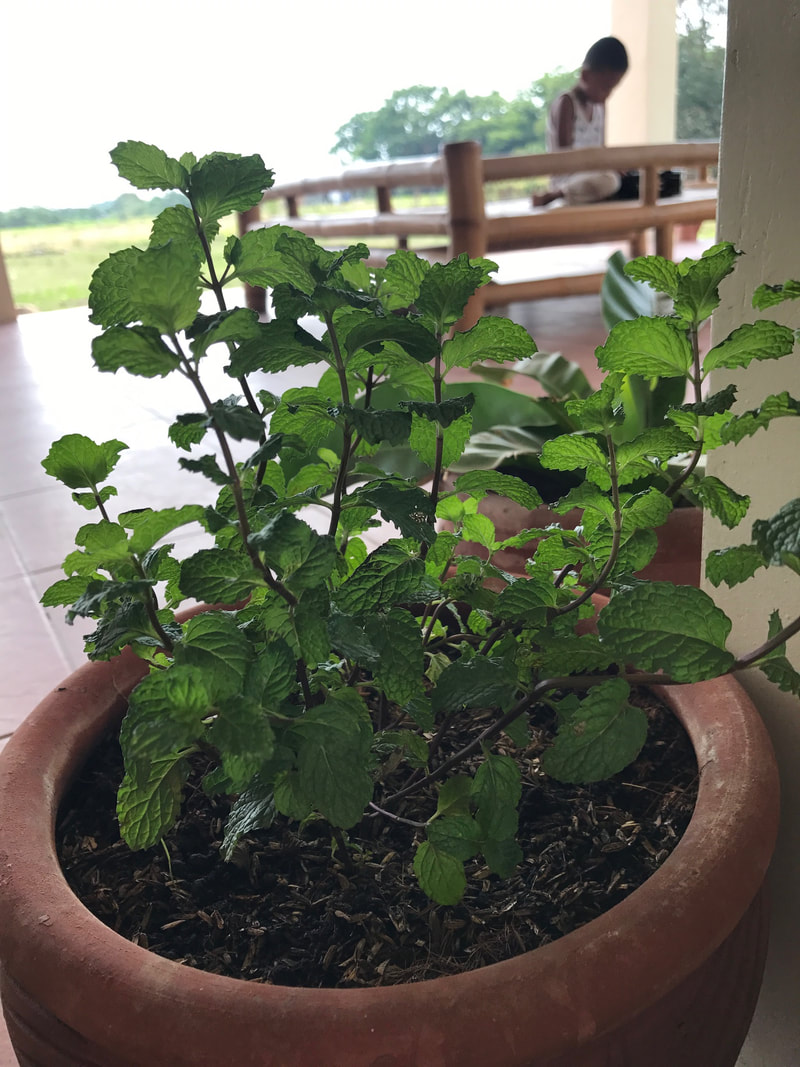
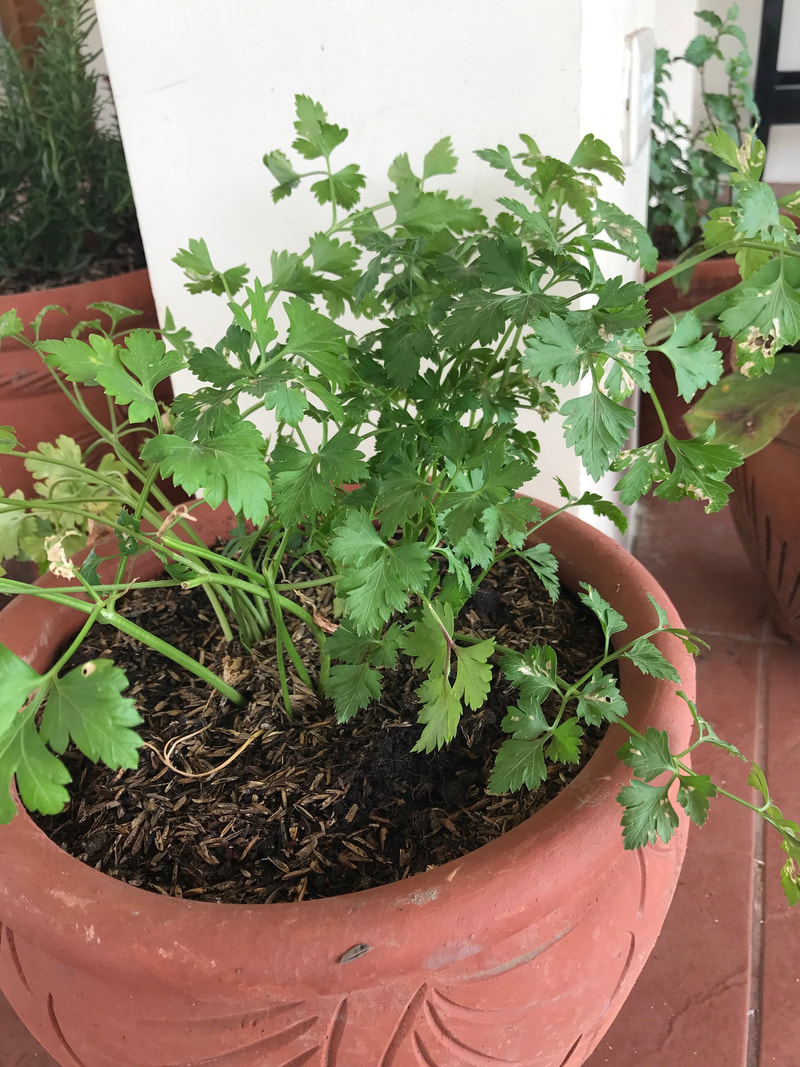
Potted herbs I bought from plant stalls/sellers and kept in my pavilion when I still did not have a veggie patch
|
|
|
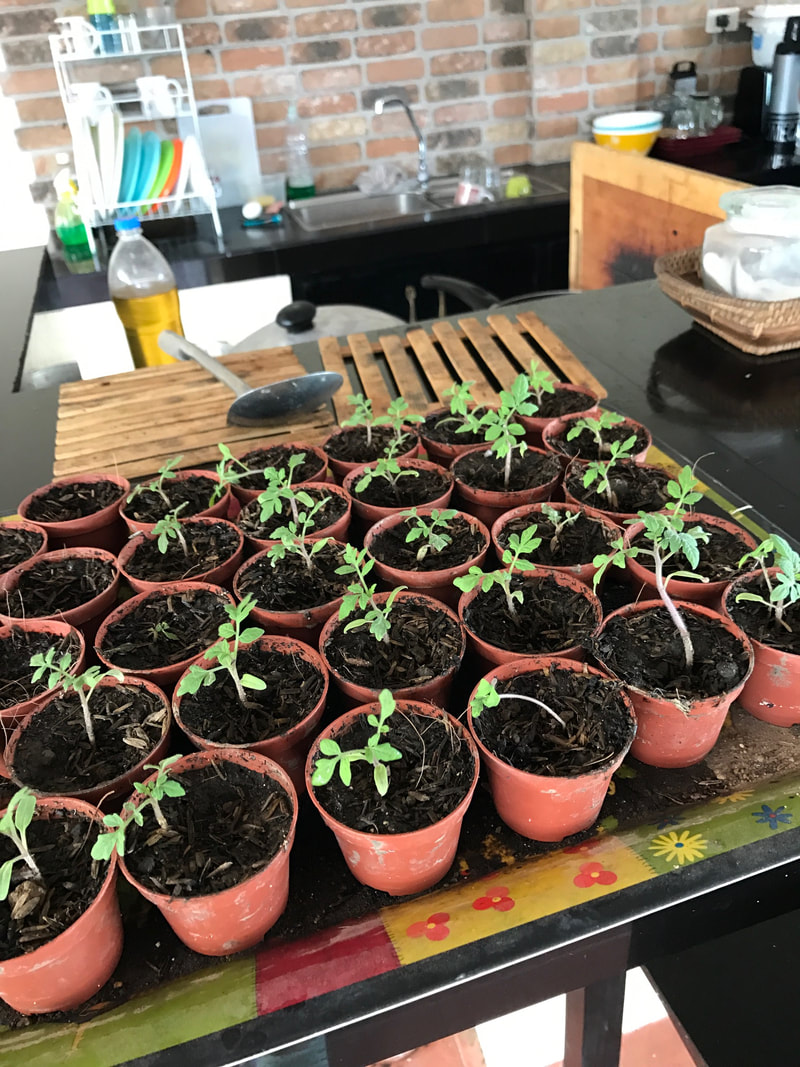
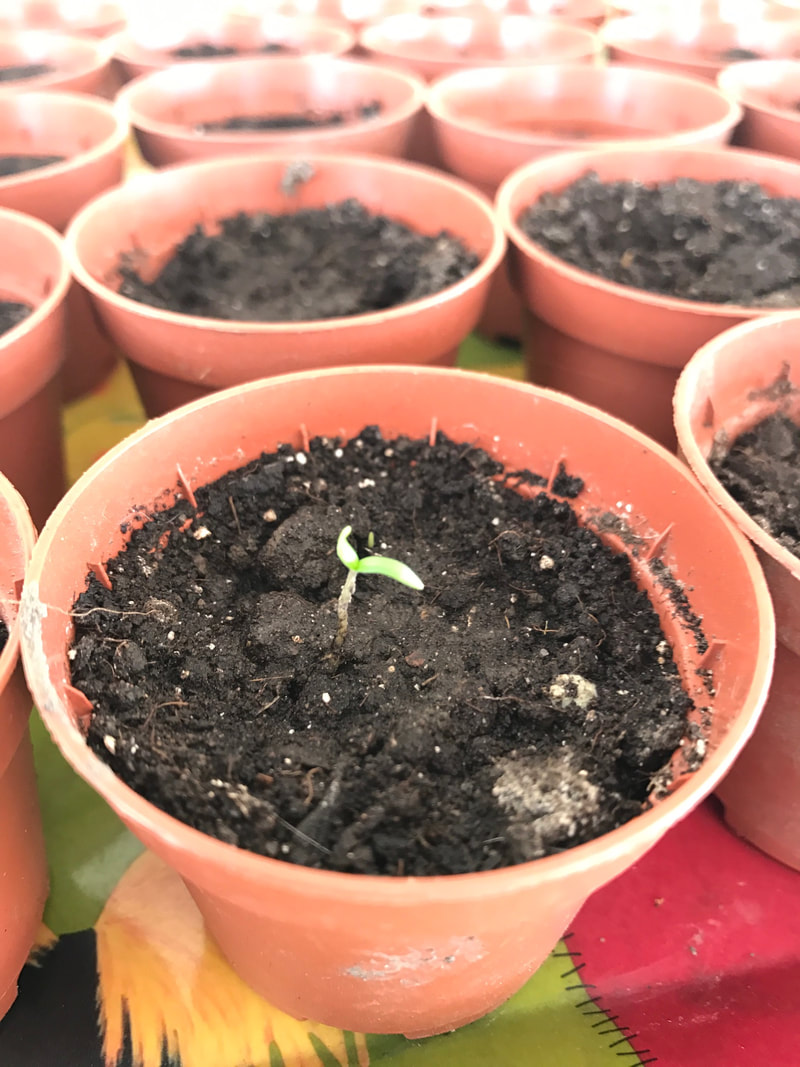
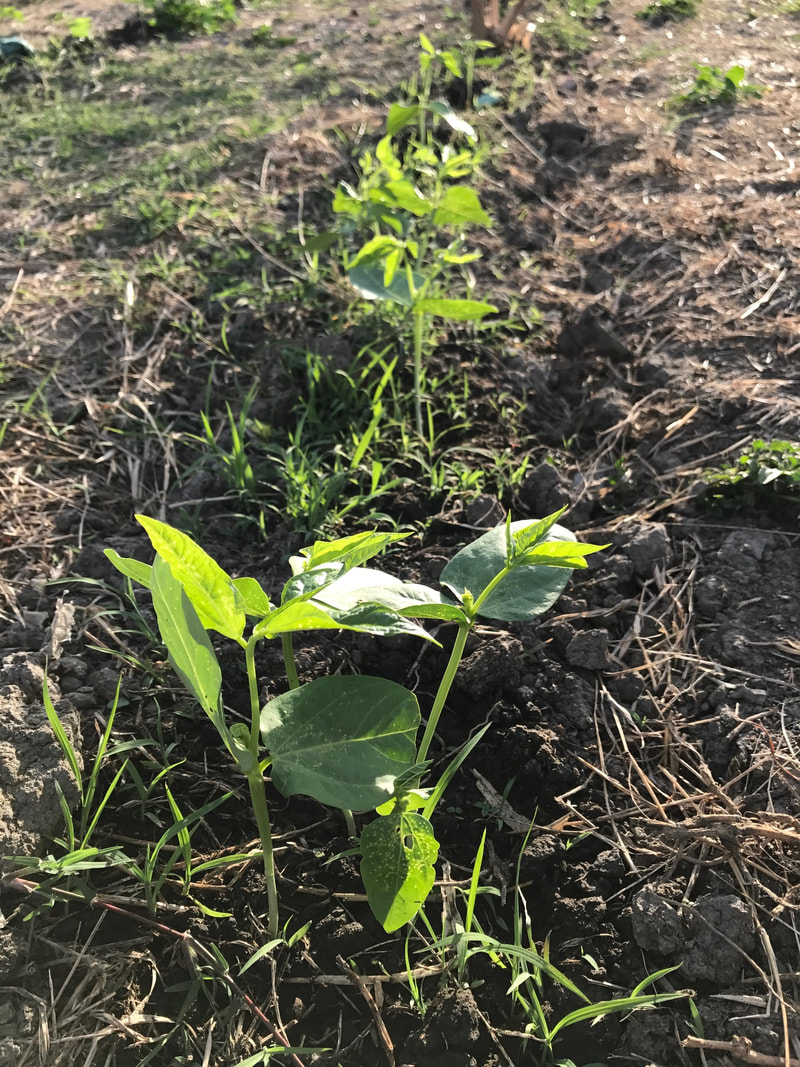
My first seeds and seedlings were lovingly kept and grown in our pavilion when I first started my garden
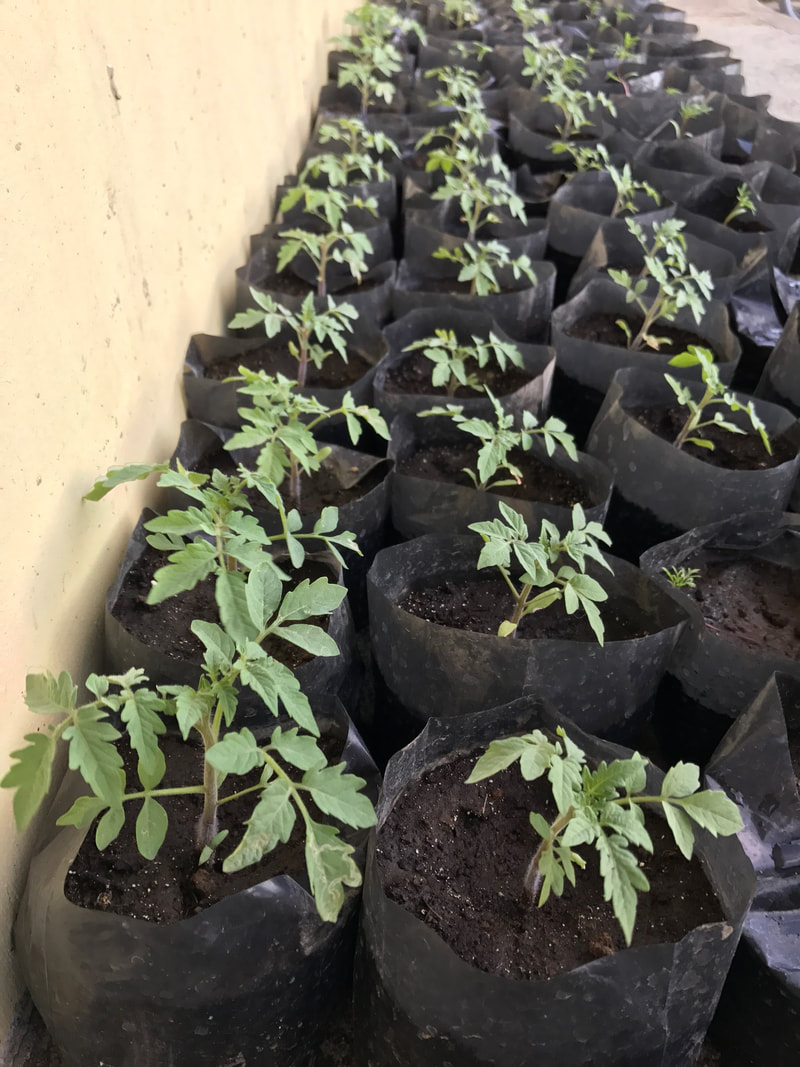
Seeing my seeds germinate and become plantings was magical, like having all these small babies growing in my pavilion that I would lovingly talk to and spray carefully every day. When it was time to move them out to the field, I got help from a pro, my friend’s husband who used to work for a farm when he was younger. He taught us how to prep the field and the soil. We put my babies down and tucked them into grass-clipping mulches meant to protect them like blankets against the elements. Of course, it turns out, mulches aren’t that effective, and you still needed to do a lot of weeding since weeds are the evilest thing in existence and they will always be more persistent than you, as in always. Planting during the summer was also a challenge since the sun was relentless and half my babies wilted in their first week. Garden netting would have helped but we didn’t have the manpower or money to build trellises over my vegetables, so we made do with diligent watering and weeding.
|
|
|
|
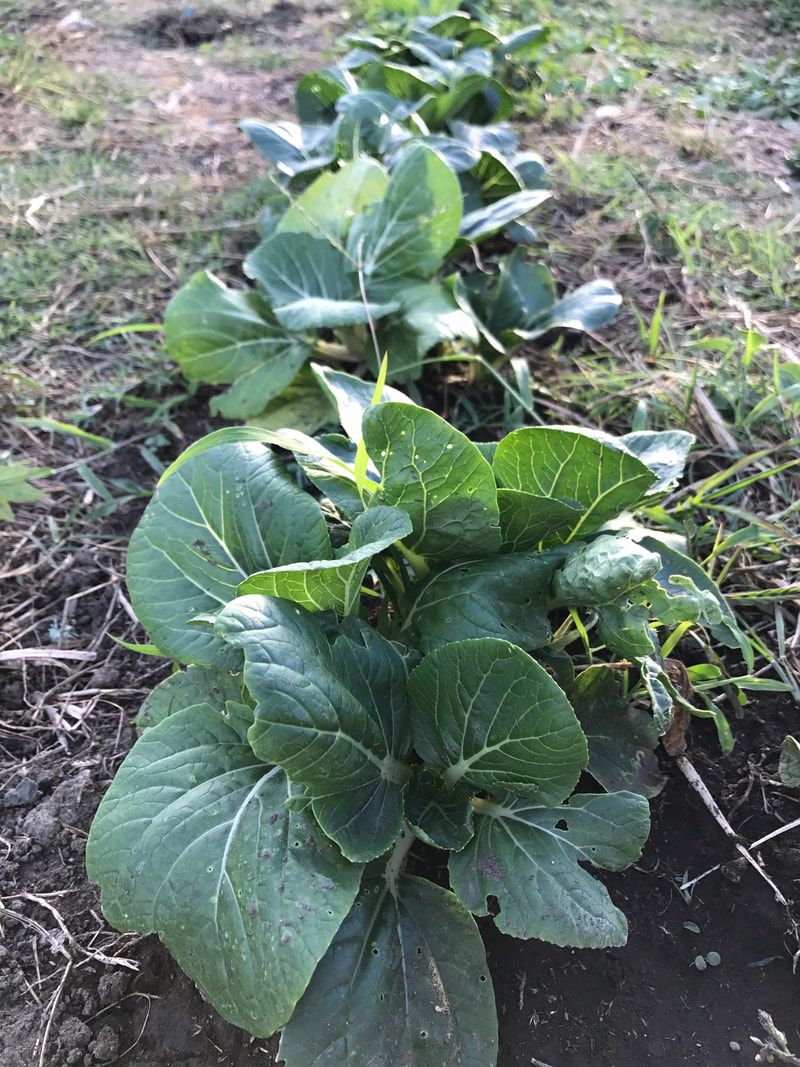
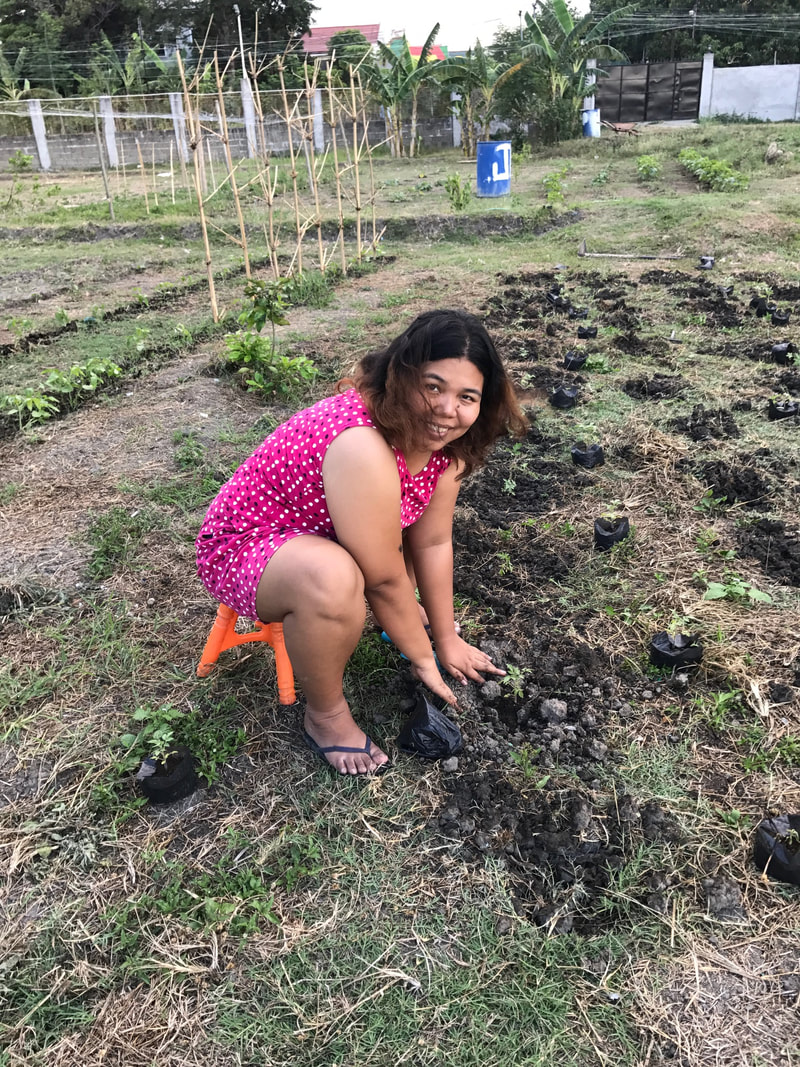
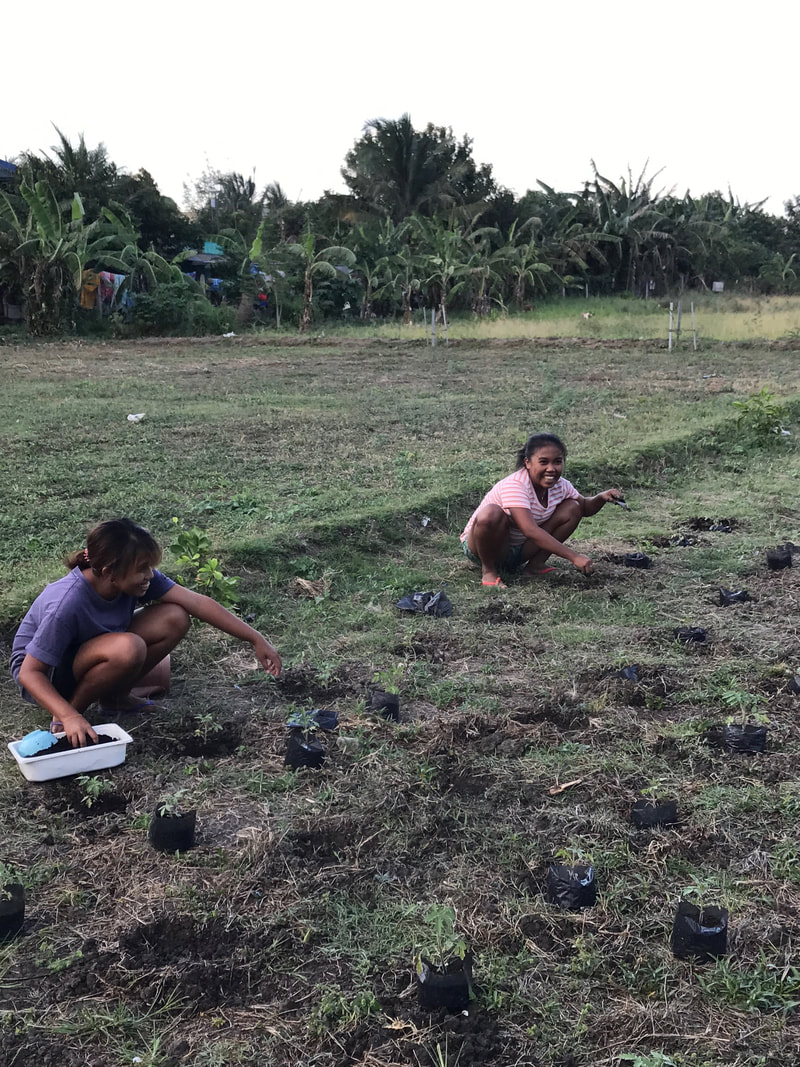
Some of my first crops were string beans and pechay.
A View of our original veggie patch and my sister, Jackie, transplanting tomatoes with me.
A View of our original veggie patch and my sister, Jackie, transplanting tomatoes with me.
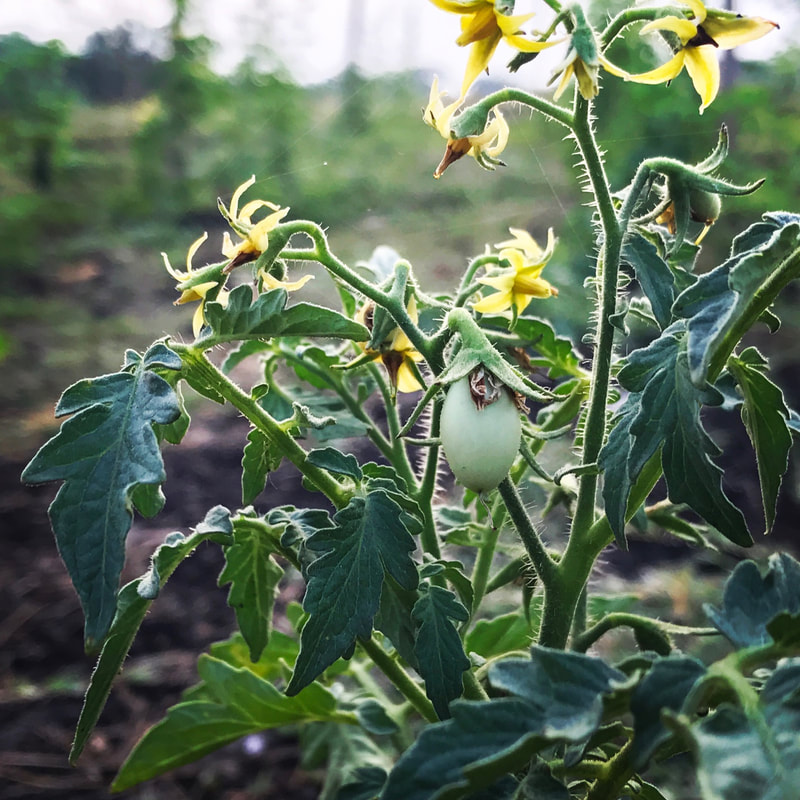
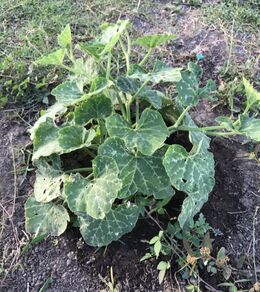
My first vegetable patch had tomatoes and okras and ampalaya. We planted pechay and string beans and pumpkins too. They were all lovely and well-tended vegetables. I used vermicast for my fertilizer and sprayed my veggies with organic plant juices to help them along.
|
|
|
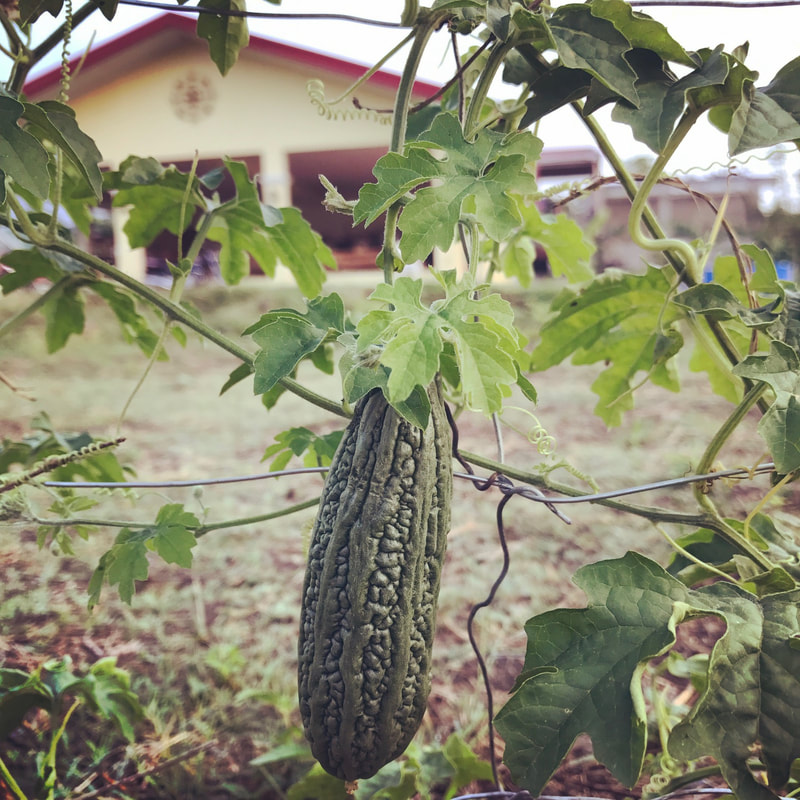
Some of my first vegetables lovingly pictured for posterity.
Seeing these first babies grow brought me such joy when I first started my garden.
Seeing these first babies grow brought me such joy when I first started my garden.
In my previous post, I spoke of the wonders of organic inputs like cow dung and carbonized rice hull (CRH) and how they created rich soil mixes for plants and vegetables.
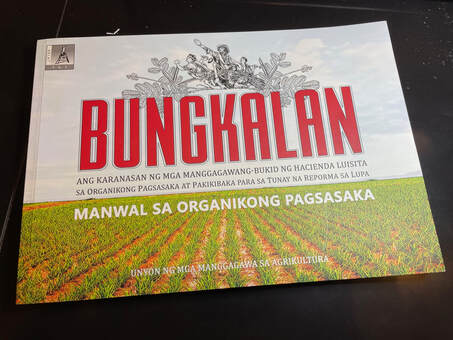
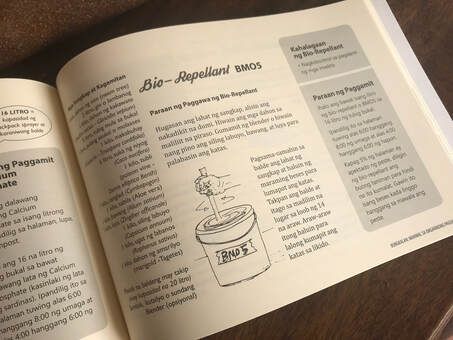
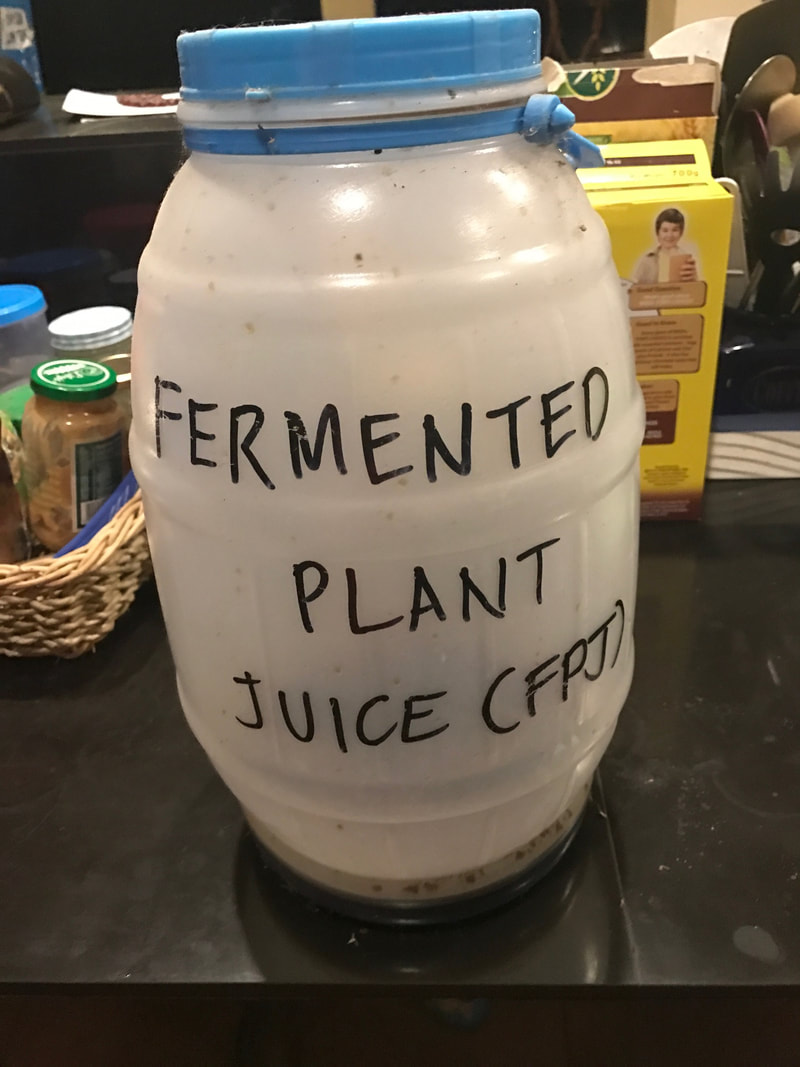
Now I would like to share my adventures in creating homemade plant juices. I learned about plant juices from the Organic Agriculture Manual “Bungkalan” published in 2017 by the Sentro ng Wikang Filipino of the University of the Philippines and the Unyon ng mga Manggagawa sa Agrikultura (UMA). This comprehensive manual was a lifesaver for a newbie like myself as it contained recipes, tips, and instructions on how to make organic farm inputs like IMO (indigenous microorganism), OHN (oriental herbal nutrients) and the bio repellant BMO5. The first one I tried making was the simplest: IMO. Now IMO or Indigenous micro-organism is a fermented juice used as an organic farm input. It is made from fermented cooked rice and molasses and is used to fertilize the soil and helps in aiding composting. It has simple ingredients and takes only two weeks to ferment/process in your backyard. It is a very helpful juice to have in your arsenal.
Now I would like to share my adventures in creating homemade plant juices. I learned about plant juices from the Organic Agriculture Manual “Bungkalan” published in 2017 by the Sentro ng Wikang Filipino of the University of the Philippines and the Unyon ng mga Manggagawa sa Agrikultura (UMA). This comprehensive manual was a lifesaver for a newbie like myself as it contained recipes, tips, and instructions on how to make organic farm inputs like IMO (indigenous microorganism), OHN (oriental herbal nutrients) and the bio repellant BMO5. The first one I tried making was the simplest: IMO. Now IMO or Indigenous micro-organism is a fermented juice used as an organic farm input. It is made from fermented cooked rice and molasses and is used to fertilize the soil and helps in aiding composting. It has simple ingredients and takes only two weeks to ferment/process in your backyard. It is a very helpful juice to have in your arsenal.
|
|
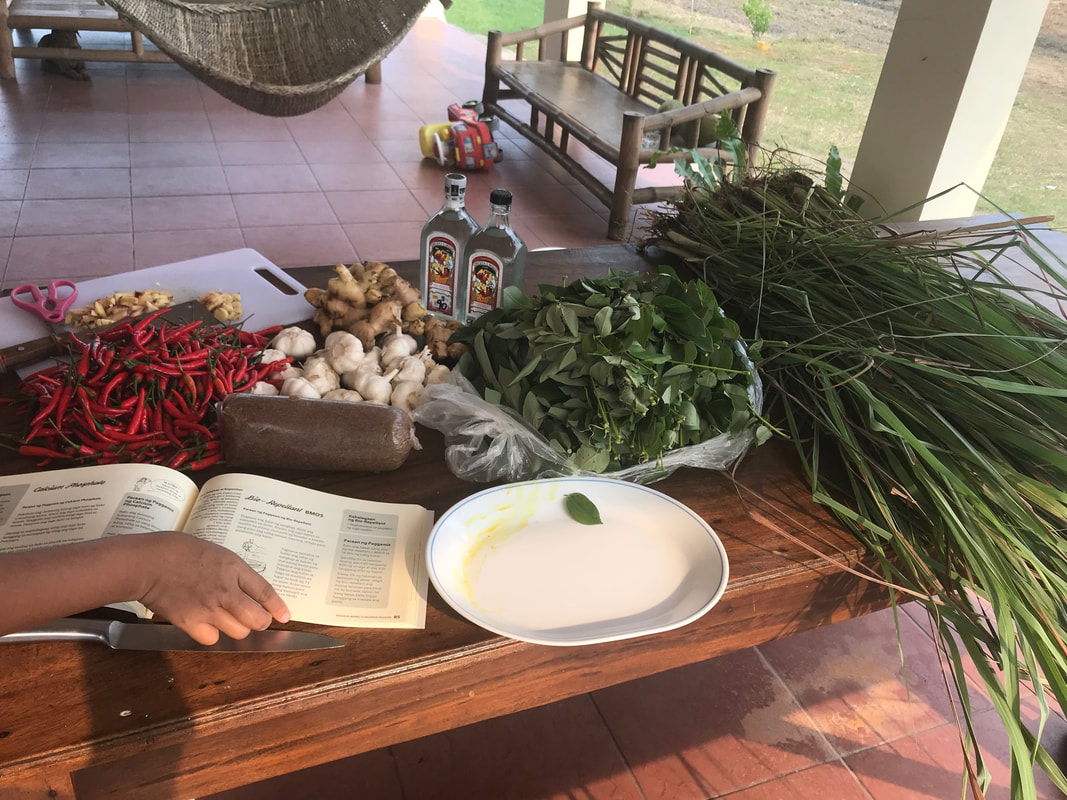
My beloved resource book for fermented plant juices “Bungkalan” and the page on how to make BMO5
|
|

|
|
The first batches of fermented plant juices I made were documented because
I was taking classes on Organic Agriculture, here are my FPJ and OHN.
I was taking classes on Organic Agriculture, here are my FPJ and OHN.
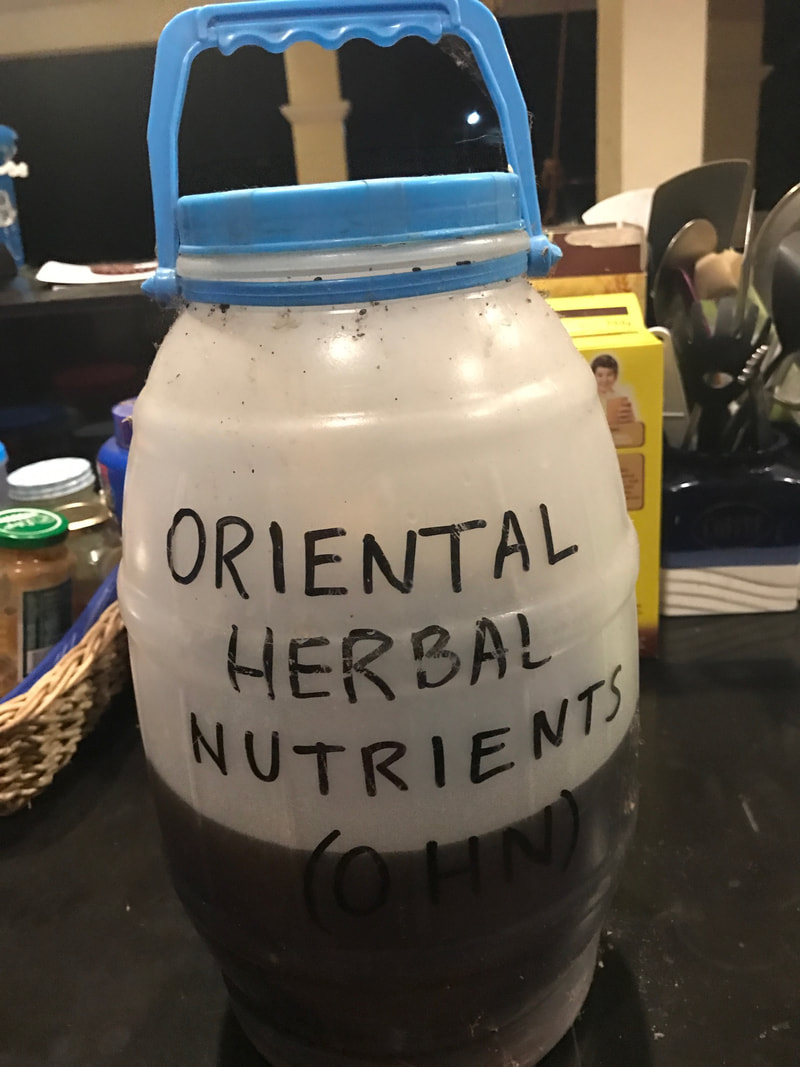
I also made OHN and BMO5 and Foliar Calcium made from eggshells. OHN is an interesting concoction, it has neem leaves and chilis and you ferment it in molasses and gin or beer.
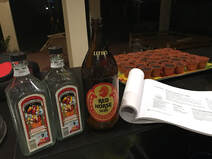
The first time I tried to make it, I had someone buy a big bottle of Gin in the sari-sari store and my husband was looking suspicious and perplexed, asking me “Is there a problem, you suddenly need a drink?” (I used to be a big gin drinker in college so he had a basis for being alarmed) but I just smiled and said I am making a cocktail for my plants. I remember he scoffed and said “You and your silly plants, using cow dung and gin and fish guts, what’s next? The powdered bones of our ancestors?”
Well, I never went so far as to use the bones of the dead for my concoctions but let me tell you that OHN is to die for. It is a very effective plant juice. It helps with killing insects in the garden and also kills bad organisms that harm or cause disease in plants. You spray OHN once a week on your plants to help keep them healthy.
If you’re also a baker and despair over all the eggshells in your trash bin, then you should make Foliar Calcium. It has only two ingredients: eggshells and vinegar, wonderful right? There is great satisfaction in knowing you have recycled something meant for the trash (your eggshells) and made something beneficial for your garden. Fair warning though, processing can be a pain since you need to make sure eggshells are thoroughly cleaned and dried before fermenting. Also, you need to wait twenty days for it to ferment so there’s that. But it is an important plant spray since it helps with flowering and strengthening flowers to ensure good fruiting of your plants.
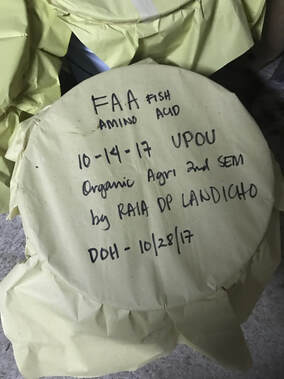
The most awful organic farm input I have tried to make is FAA or the Fish Amino Acid. For this concoction, you need to use a lot of fish guts. If you need a big batch then go to your local fishmonger and ask them for a pail of their fish garbage. It also only needs two ingredients: fish guts and molasses and fermenting takes only 10 days. It emits a godawful smell and you need to mix the concoction every day during the 10-day fermenting period. Every afternoon of mixing FAA felt like a holy week penitensya. It was a valuable learning experience -- wherein I learned that next time I will just buy this from Lazada.
I have to say though that my plants absolutely love FAA, whenever I spray them with FAA they are always lush and happy afterward. I tease my plants and say, “Yan lang pala gusto nyo! Ang mag amoy isda!” I also end up smelling fishy and gross whenever I spray this around my garden but the “sacrifice” is worth it since my plant babies are happy.
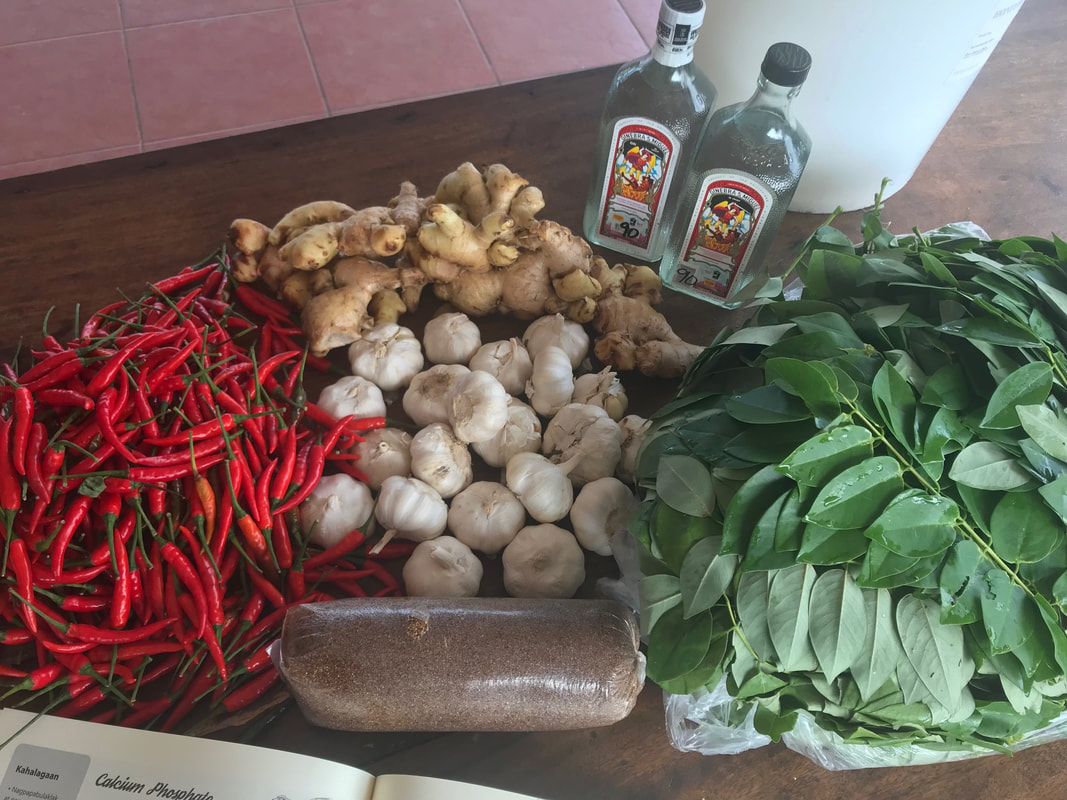
Now if you have an infestation and need to bring out the “big guns” then BMO5 should be the plant juice to make. It has a myriad of ingredients like neem leaves, madre de cacao leaves, vinegar, aloe vera, lemongrass, ginger, chilies, marigolds – everything but the kitchen sink really. And it takes about half a month to ferment. Preparing BMO5 will make you feel like a student from Hogwarts making magical potions but the pay-off will be worth the effort and the wait.
Making Fish Amino Acid (FAA)
|

|
|
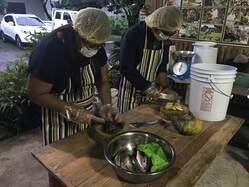
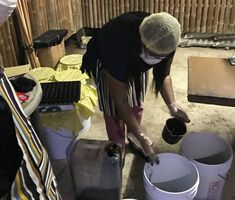
These pics were taken during a demo we did on making Fish Amino Acid with my Organic Agriculture classmates
at the Ato Belen Farm in San Pablo, Laguna.
at the Ato Belen Farm in San Pablo, Laguna.
Making Foliar Calcium

Eggshells for foliar calcium
|
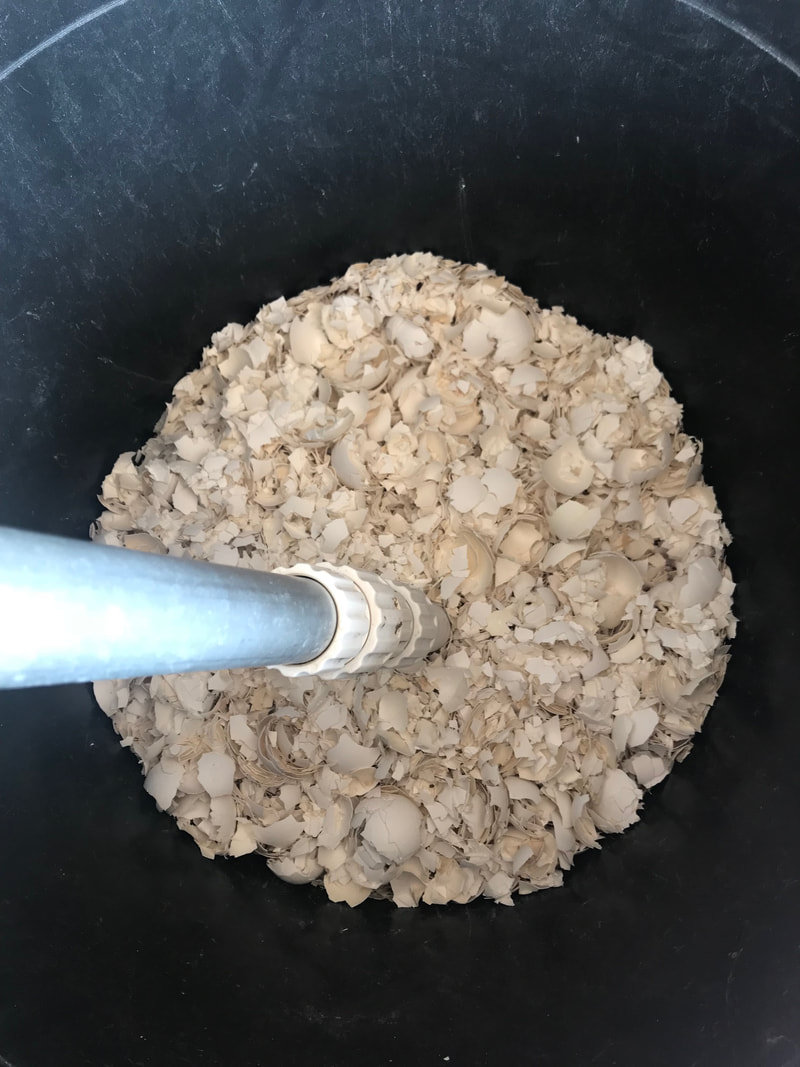
You just mix eggshells with vinegar to make foliar calcium and then ferment for 20 days
|
Making Oriental Herbal Nutrients (OHN)
|
|
|
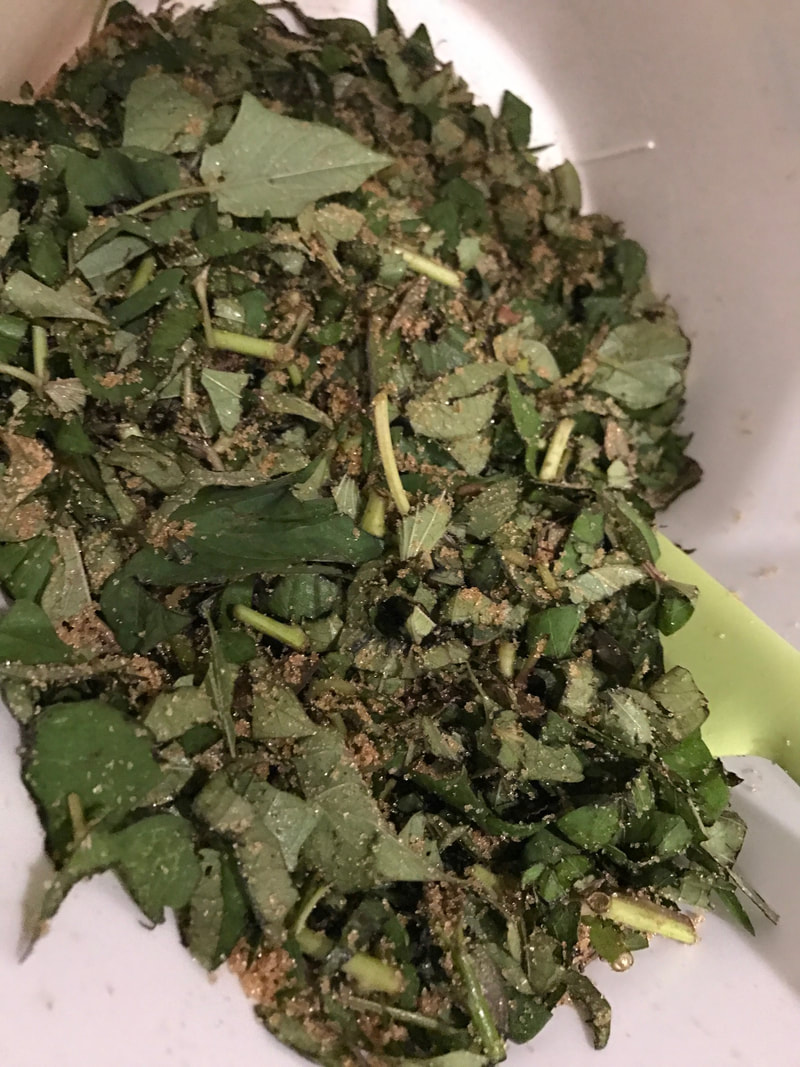
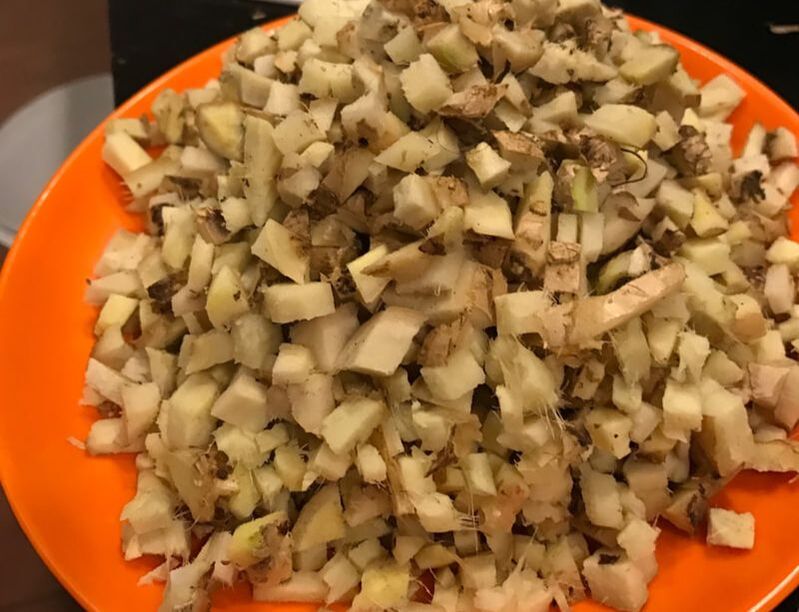
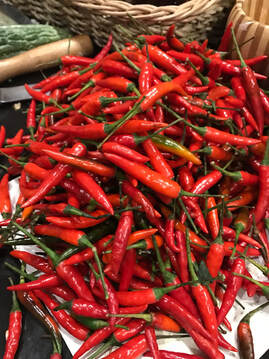
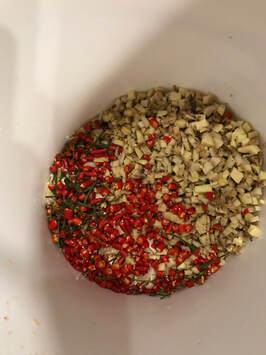
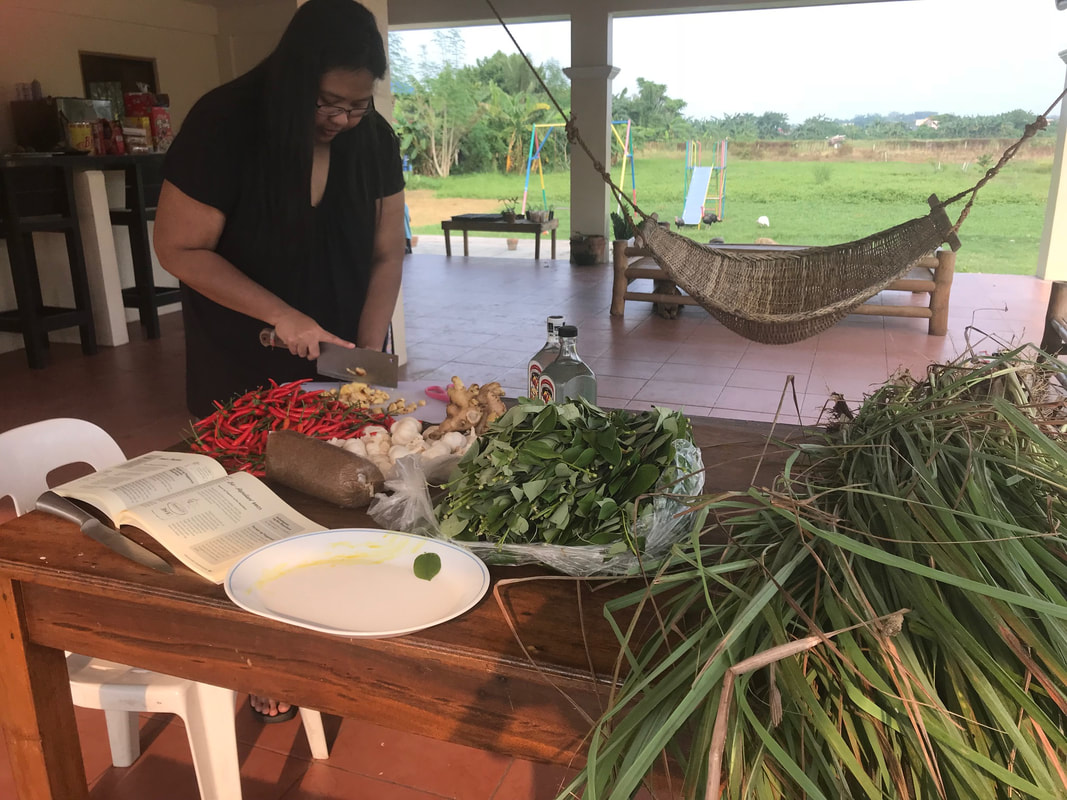
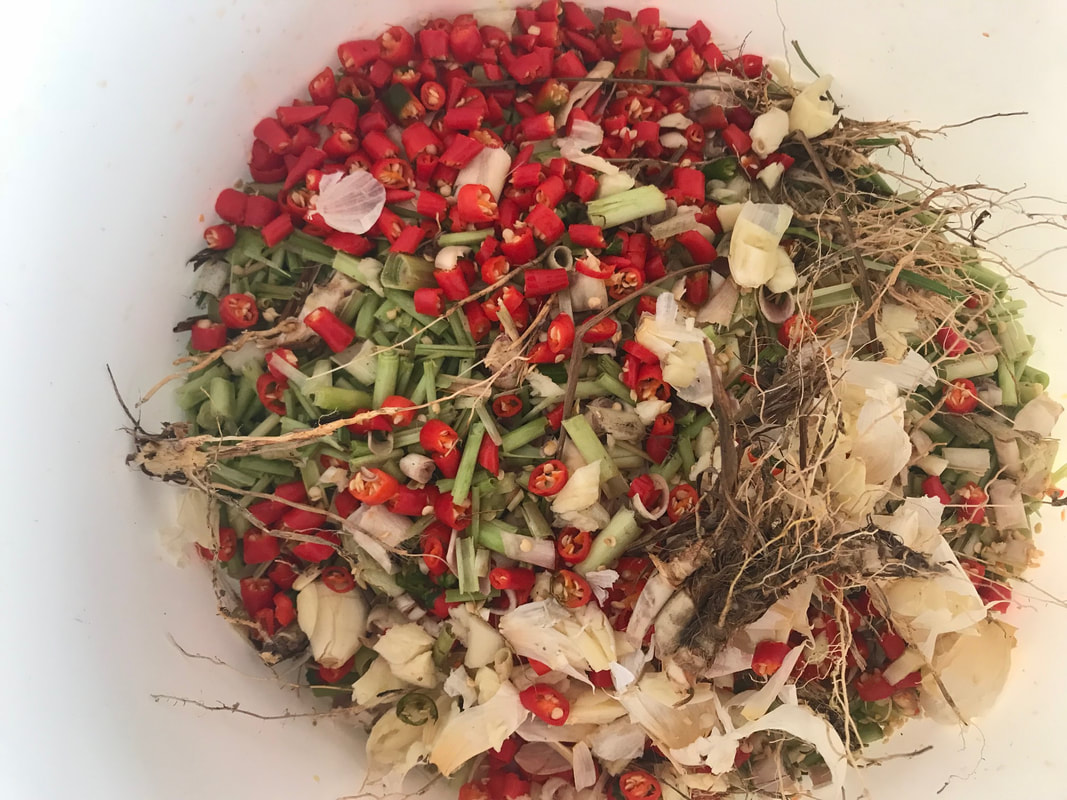
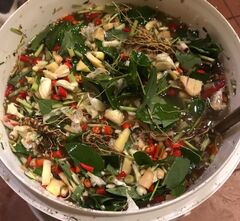
Making Bio-repellant BMO5

|
|
|
This was me making BMO5, the big guns when you have pests in the garden.
Lots of chopping and prep for this because it had so many ingredients!
Lots of chopping and prep for this because it had so many ingredients!
A lot of plantitas would say just buy your fertilizers rather than waste time making these concoctions but when you consider the price of inputs (for example P7000 for a sack of time-release fertilizers, P500 per 200g of humus, etc) it is a good idea to just make plant juices, especially if most ingredients are available in your yard for free – leaves and roots and chilies and molasses/brown sugar, cooked rice, etc. It just takes a bit of time and effort but the outcome is even better than those of commercially available farm inputs. And it’s organic and safe. What other reason do you need really?
I don’t know if they still have Bungkalan sold in the UP Press but if you are into organic farming/gardening, do buy this manual. It is an indispensable guidebook on organic farming but more than that, it is a history lesson on the story of the Luisita farmer’s fight for their right to the land they till. It is an amazing work that is both useful and powerful in its narrative, I am not sure that sounds right but yes, this book manages to be all that. It is a beautifully laid out book with outstanding pictures and artwork, it’s easy to understand and easy on the eyes, even a kid will find it fun to read. Buy maybe five copies for yourself and five more to give away to friends.
I don’t know if they still have Bungkalan sold in the UP Press but if you are into organic farming/gardening, do buy this manual. It is an indispensable guidebook on organic farming but more than that, it is a history lesson on the story of the Luisita farmer’s fight for their right to the land they till. It is an amazing work that is both useful and powerful in its narrative, I am not sure that sounds right but yes, this book manages to be all that. It is a beautifully laid out book with outstanding pictures and artwork, it’s easy to understand and easy on the eyes, even a kid will find it fun to read. Buy maybe five copies for yourself and five more to give away to friends.